Precision & Consistency
It allows you to be precise and consistent about the length of your lines in the water, since you’ve predetermined your connection points by splicing in loops instead of tying knots, which can vary in placement.
Back to: Gear Prep
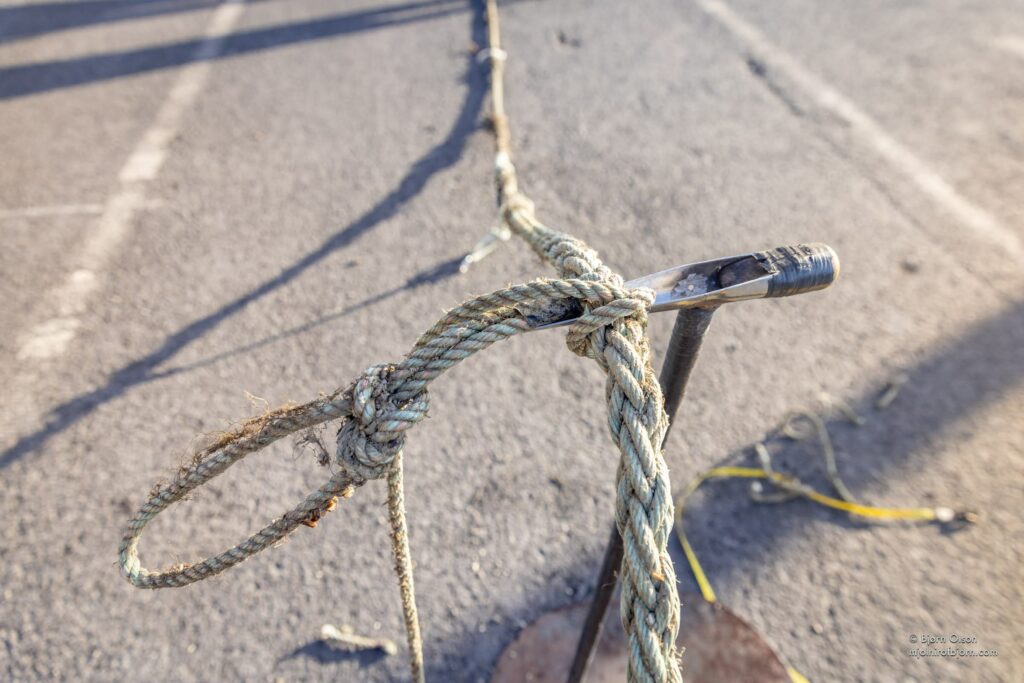
As you’re assembling your gear, one important skill you’ll want to learn to master is how to splice line. Splicing is a technique of unraveling a multi-stranded line and braiding it back together to create a loop or eye. It’s also used to connect two different lines together.
It allows you to be precise and consistent about the length of your lines in the water, since you’ve predetermined your connection points by splicing in loops instead of tying knots, which can vary in placement.
It creates a much cleaner system in the water. Loose ends and tails often collect biofouling over the course of the season. Having a cleanly spliced line with a clear connection point can reduce confusion and help you understand what’s going on in your system.
A short or a long splice is used to join two lines together to create a longer line.


An eye-splice is used to form an eye or loop at the end of a line. This splice can also be used to attach a piece of metal hardware, such as a c-link or thimble within the eye.


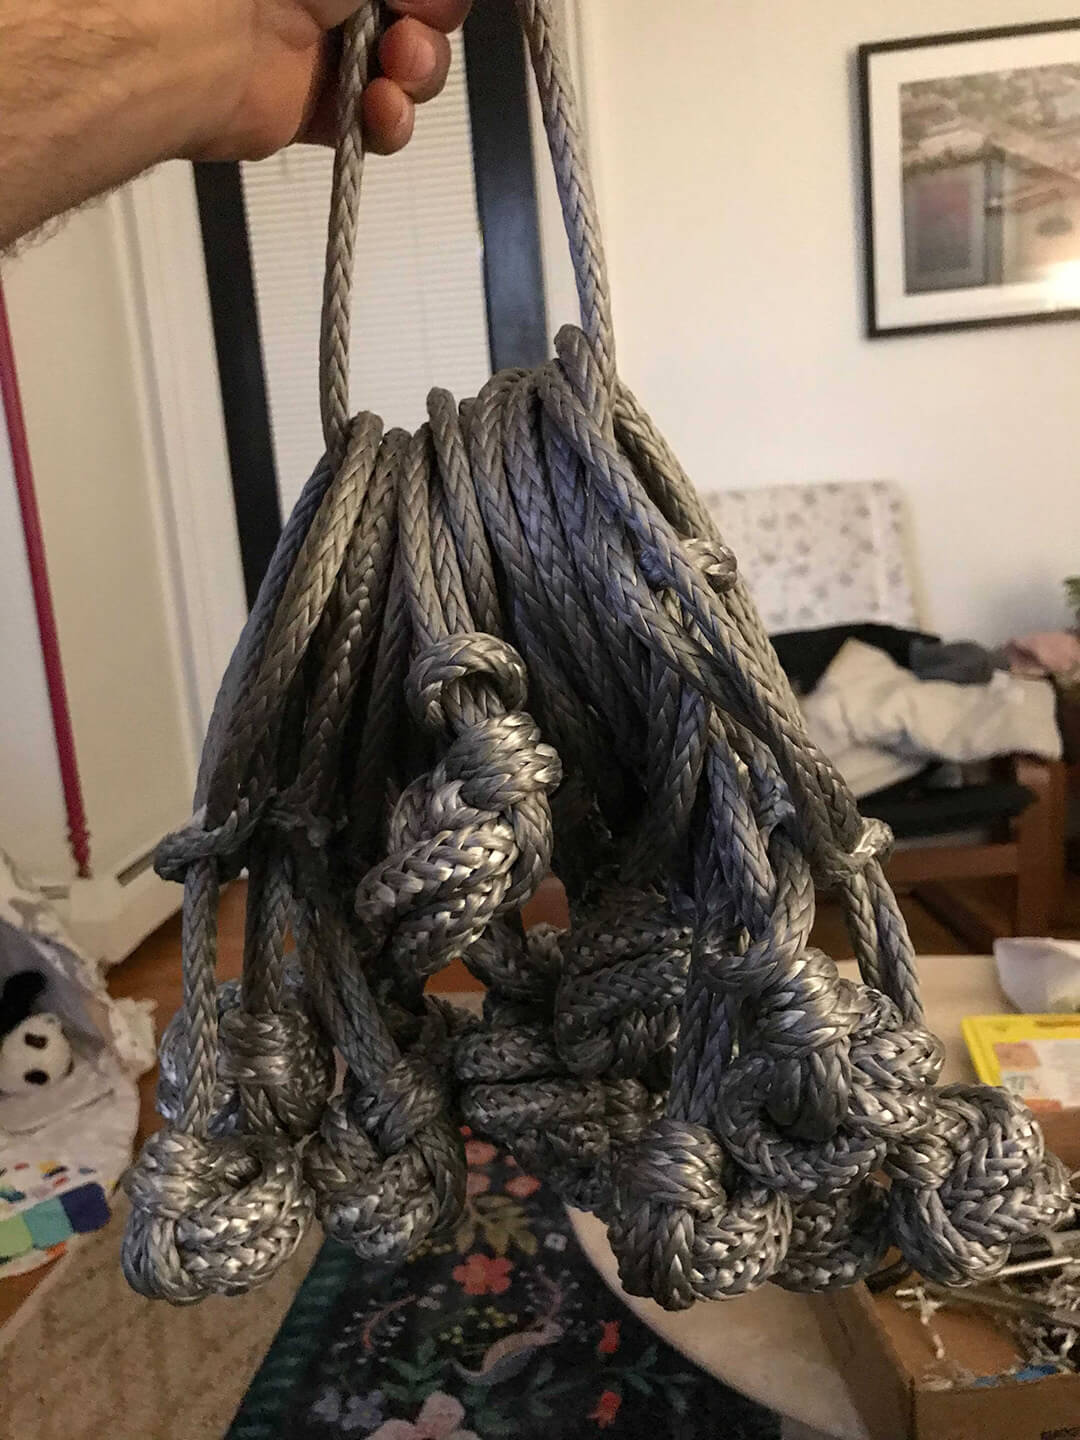
On the GreenWave farm, we use soft shackles as an alternative to hardware to link different gear components within the array system near the surface. Soft shackles are essentially a braided ring, made from Dyneema line, which is 15-times stronger than steel and can be used in place of a shackle, thimble, or metal ring.1 We find they are exceptionally useful for connecting different parts of the system in the water, so you can tie fewer knots, be more precise with the measurements of different components of the system, and have fewer points of failure. We use them to connect our anchor line to our 5-line array bridle, splice them into our growlines at intervals to connect with buoy lines, and keep a bucket of them around to have at the ready for other needs.