Back to: Build Your Hatchery
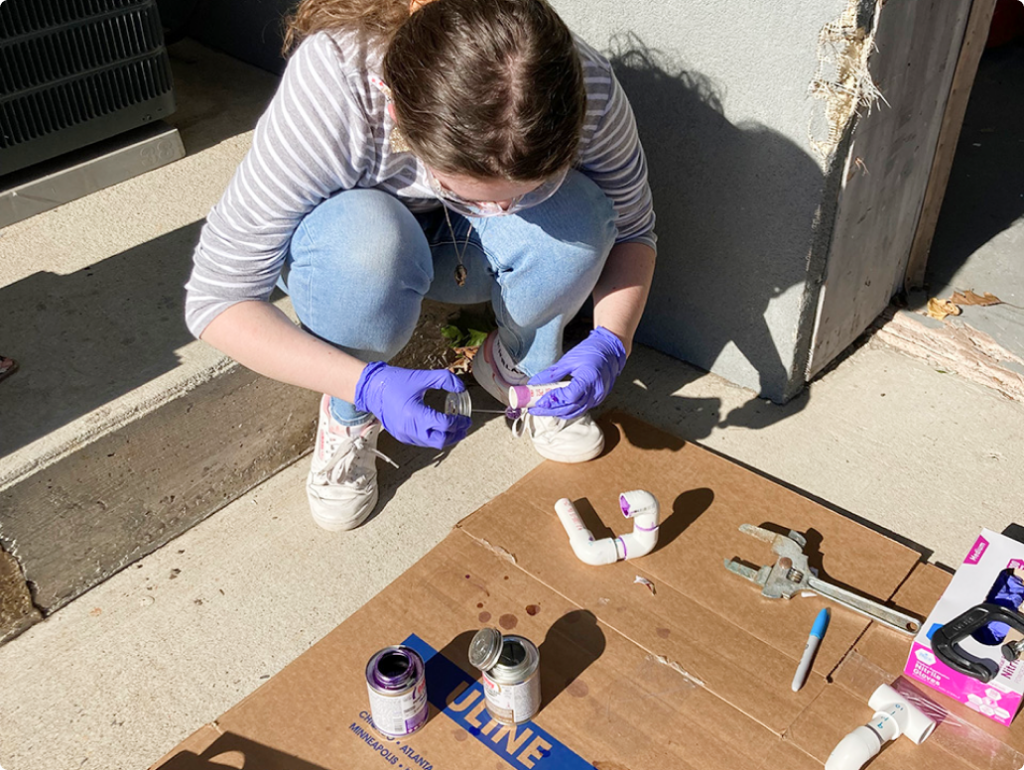
Prep Your Gluing Station
Safety first! Set up in a space that is well ventilated. Don safety goggles and have skin protection; the fumes from the glue are very strong and the chemicals are irritants.
The space should also be one that you don’t mind getting dirty. PVC glue and primer can make a mess.
Make sure that once everything is glued, you can easily bring the glued equipment to its final destination. Ensure that it will be able to fit through the door, up the stairs, or down the hallway to your hatchery.
Layout your pieces in the order of how they will be glued so there is no confusion.
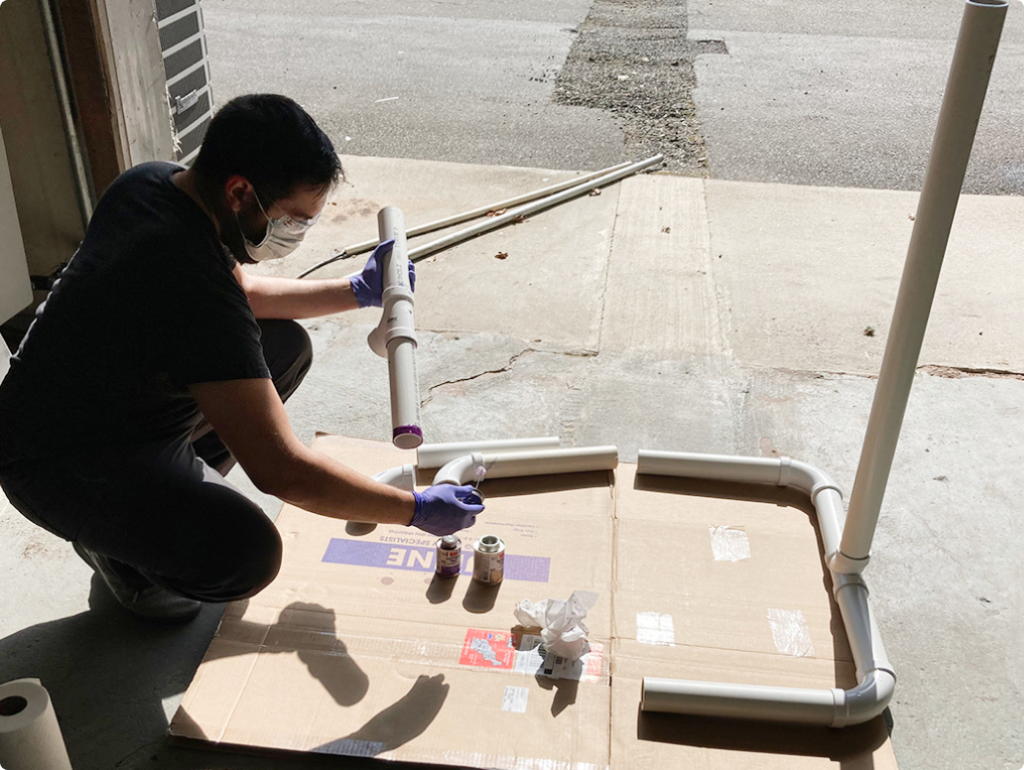
Apply the Glue
Collect the two pieces you would like to glue together. Using the brush provided in the primer can, coat the inside of the female piece and outside of the male piece twice, alternating between the two.
Using the brush provided in the cement can, apply the cement over the primer of the male PVC piece.
Immediately insert the male piece into the female piece while twisting to fully coat the surfaces with the cement. Your twist should finish so that the marks you made during dry-fitting align. The chemical reaction between the cement and primer will make the parts want to push apart a little, so be sure to push and hold the two pieces together for about 30 seconds before moving on. Allow the glue to dry for 2 hours to fully cure.
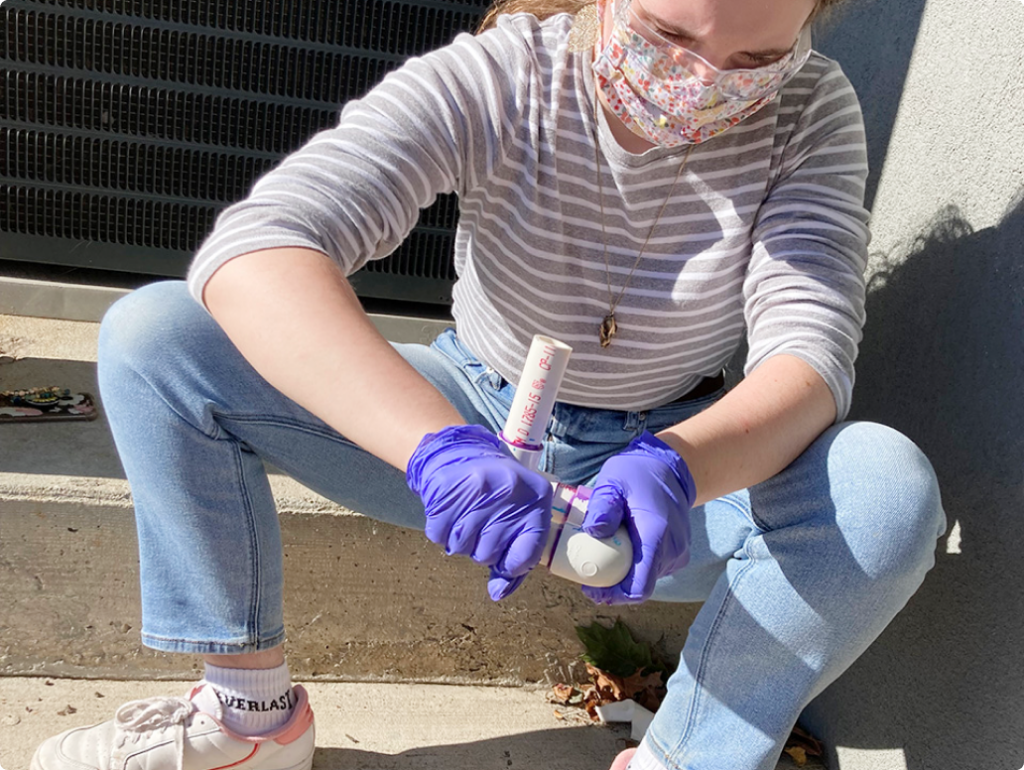
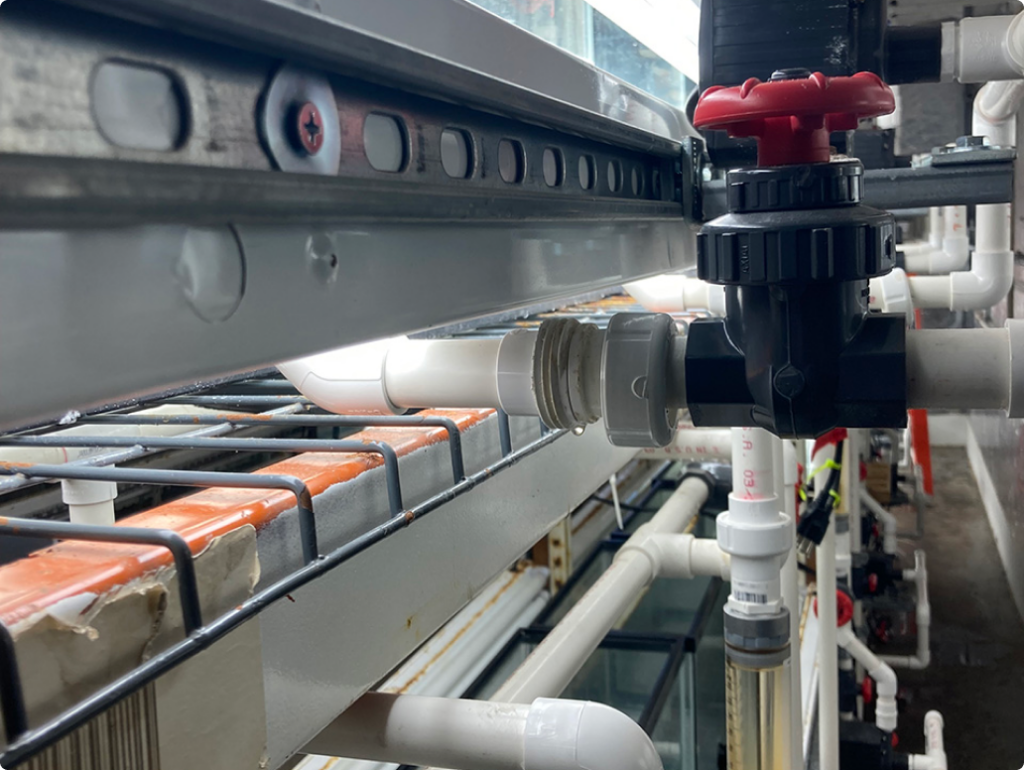
Connecting Threaded Materials
If you are using threaded PVC pieces rather than slip, it is still important to make sure there are no leaks. You can do this by creating a seal with teflon tape on the male thread. Wrap the tape counterclockwise parallel to the threads.
Connecting Pieces Without Glue
For PVC connections that you would like to easily disconnect, use a true union. This allows for easy disconnect of PVC while still creating a proper seal for connections. This could be for easy disconnect of tanks, inline gauges, or drains.