Back to: Seed Production Pathways to Scale
Inside your facility, you’ll need to create the perfect marine environment by removing contamination, organic matter, and any living organisms from the water.
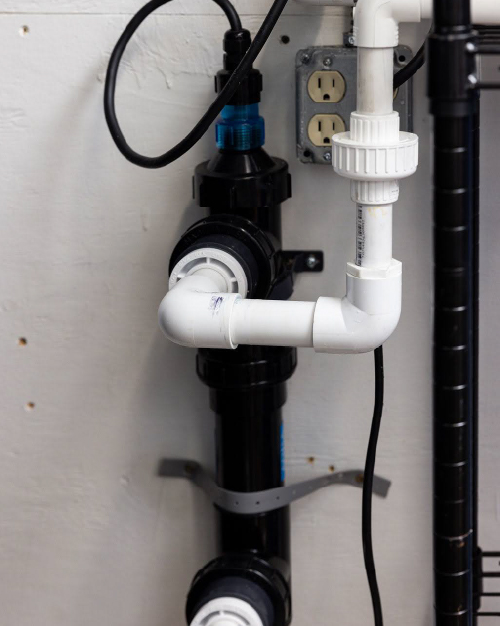
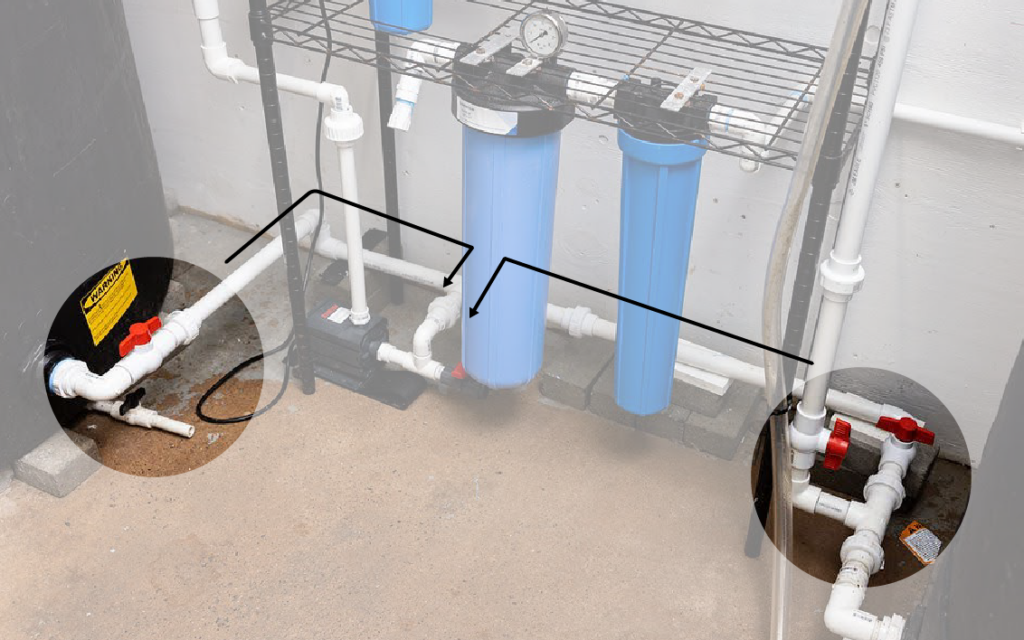
To ensure ease of maintenance and minimize contamination risks, construct the processing system for disassembly between seasons. Use unions in pressure sections of the piping for easy separation. When connecting pipes that are under 5 PSI or less we employ Teflon tape for leak-proof connections, wrapping the pipe end several times with heavy duty (extra thick) teflon then pressing it into the fitting. Be aware that Teflon tape is for one-time use; you’ll need to remove and reapply it when disassembling.

To circulate and transfer water within the system, use Eheim pumps. These mag drive pumps are ideal for seawater use as they don’t expose seals or ferrous materials to the water. These pumps are submersible and have threaded female fittings for inline use.
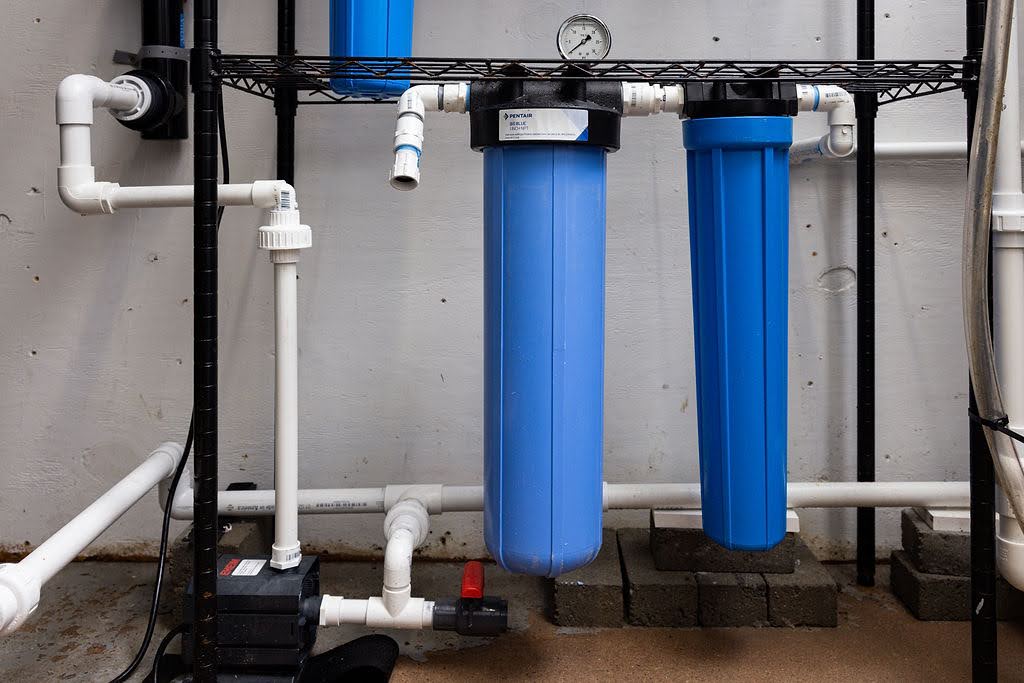
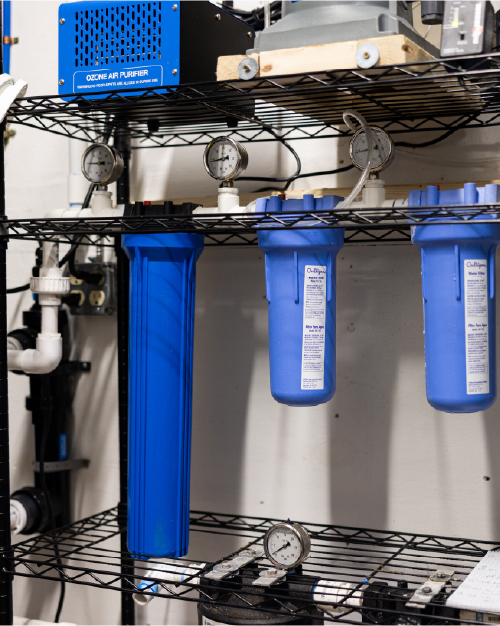
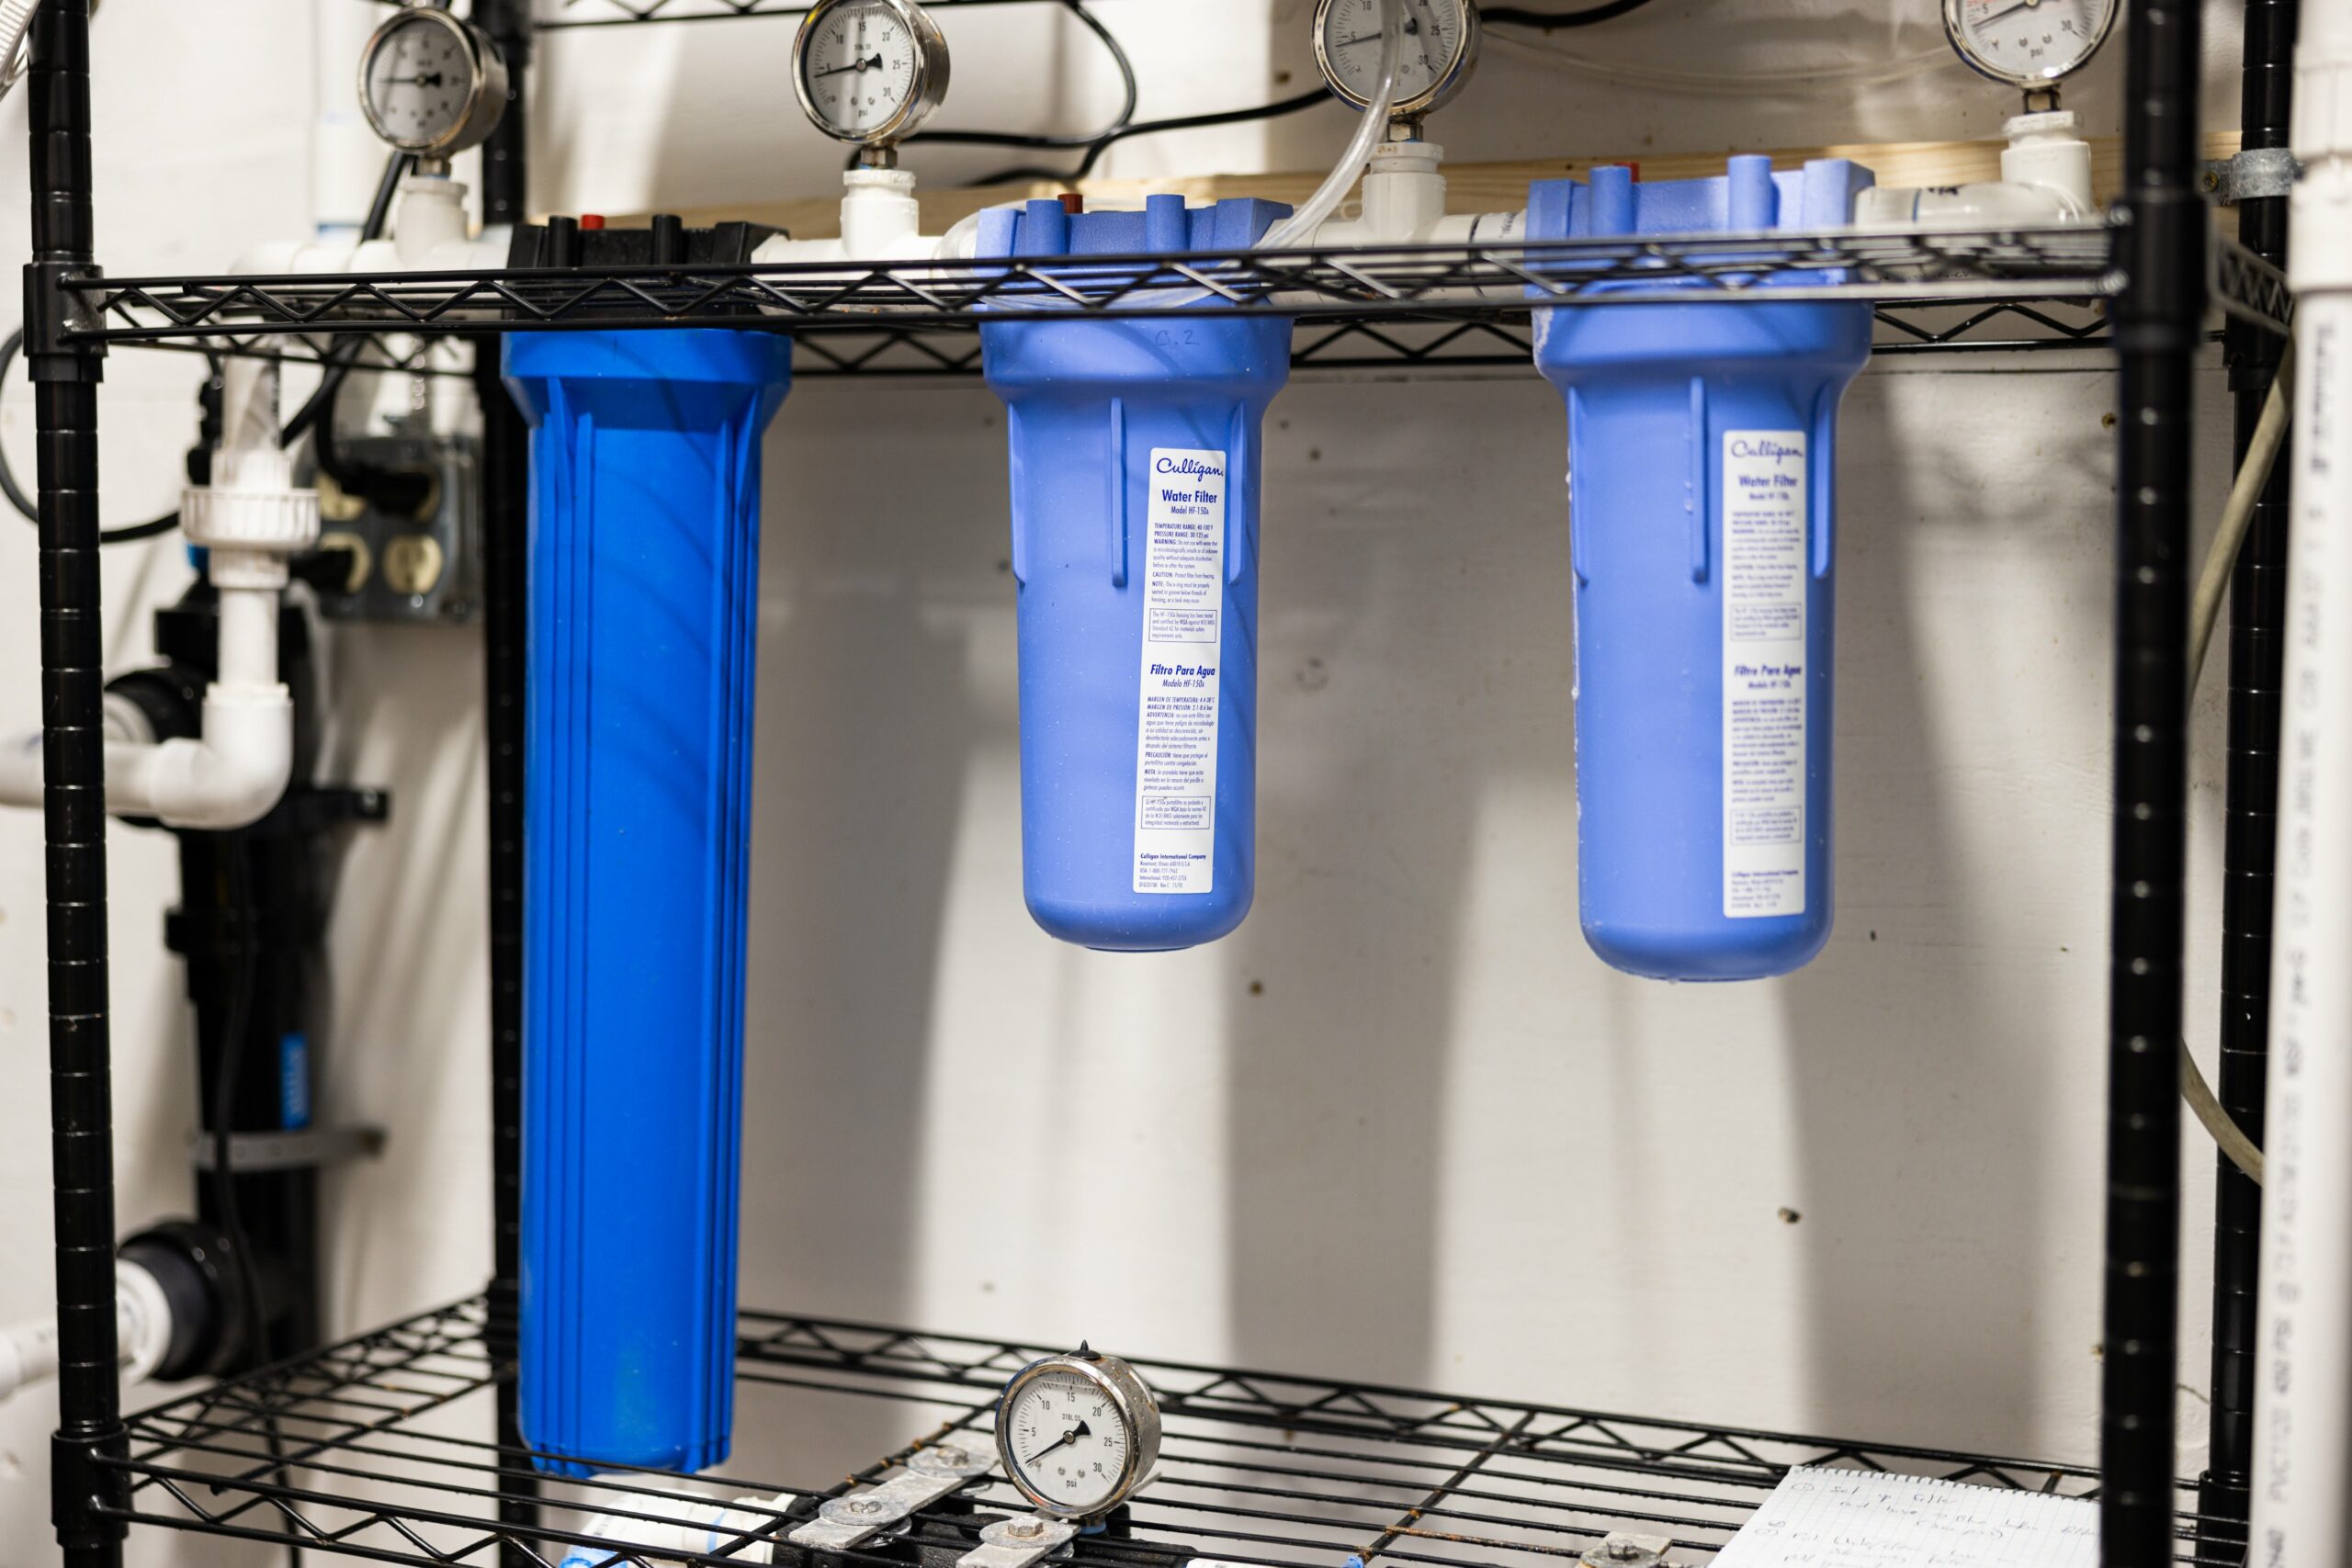
Begin the water treatment process by removing large particles. Connect the sump pump inside the IBC to a 20” bag filter housing with a 25 micron filter. Attach this housing to a 20” cartridge filter housing with a 5 micron filter. After each 500-gallon load of water is filtered, rinse the filter media with fresh water. Pressure gauges on the filter housings will help you monitor their performance. Ensure all wetted elements of the gauge are made of 316 stainless steel to prevent toxic metal contamination.
This filter media should be thoroughly rinsed with fresh water after use, and when they start to degrade in appearance should be replaced. We have found they last well for up to 10,000 gallons of filtration, but this will depend on how clean your water source is.
-
Pressure Gauges (¼” NPT 2.5” gauges with 0-30 scale)
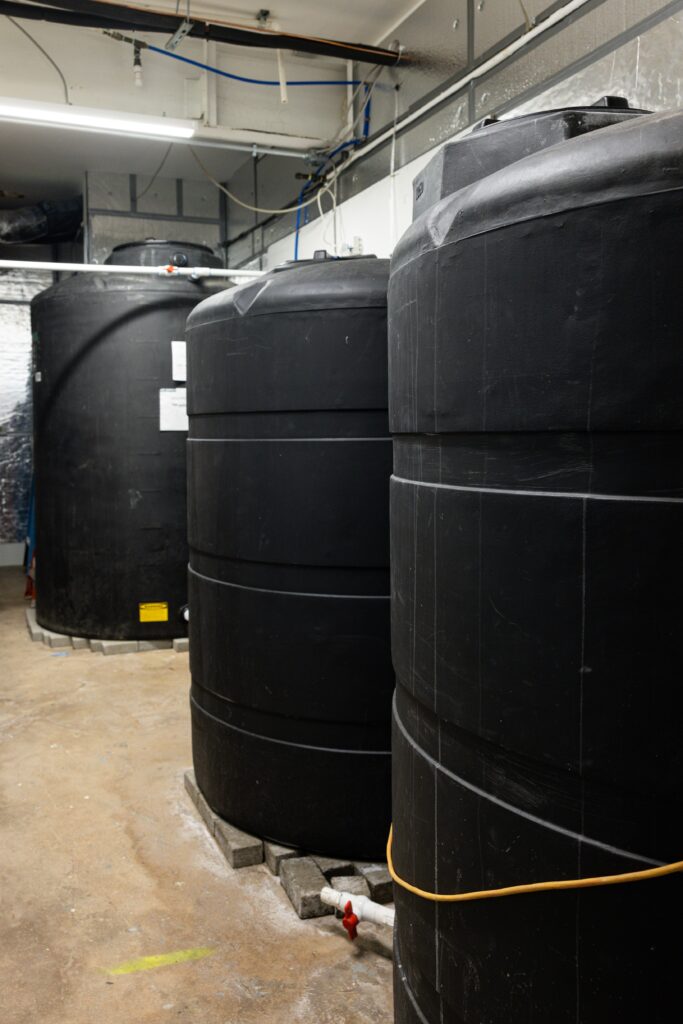
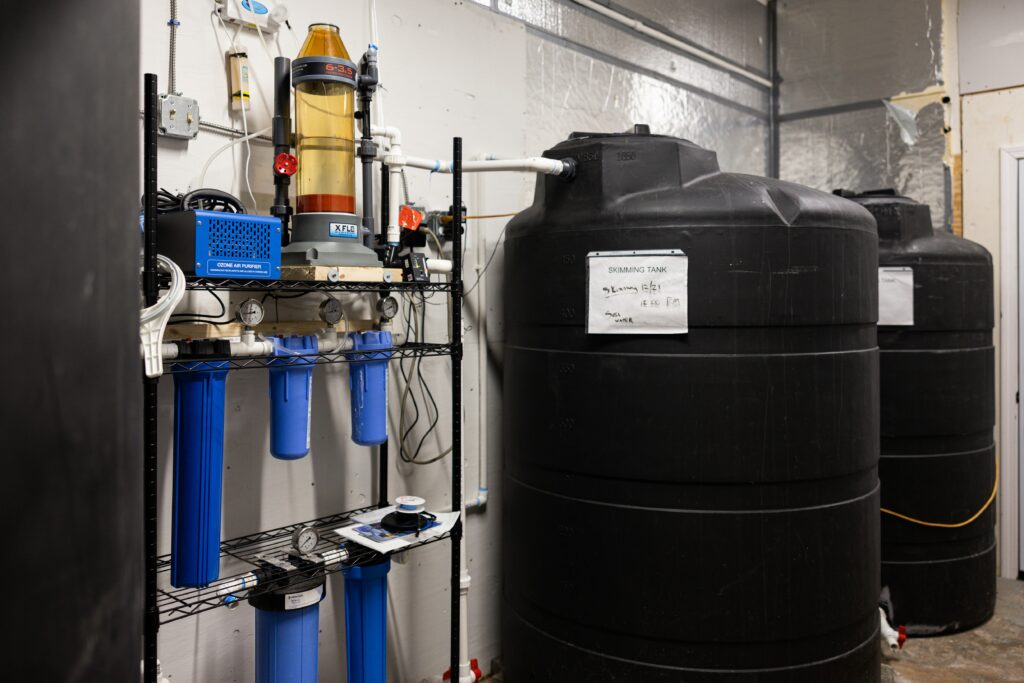
After this initial filtration, water is piped into a 500-gallon skimming tank. These tanks should be made from a type of plastic that doesn’t let light pass through. To check if any light is getting through, shine a powerful LED light on the tank. If you see light coming through, don’t worry! You can fix this by applying a special primer that sticks to multiple surfaces and then adding three coats of black paint. This will make the tank completely opaque, which is important for the process.
A crucial step in water processing involves using a protein fractionator or skimmer. The protein skimmer is a sophisticated piece of equipment used to enhance water quality. It operates by harnessing a phenomenon called the venturi effect, which injects air and or ozone into the water, creating foam. This foam helps precipitate unwanted organic materials from the water. Click on the number icons to see how it works (hit the “reset” button at the bottom of the player, if the lesson has timed out):
We can enhance water purification by using an ozone generator, which adds ozone to the protein skimmer. This process helps to get rid of harmful bacteria and pathogens, making the water even cleaner.
Click on the number icons to learn how it works:
The time it takes for the skimming process to finish depends on how much organic stuff is in your water, and this can change based on the environment when you collect the water. On average, it might take anywhere from 36 to 48 hours.
Click on the numbers below the image to see how you can tell when it’s done.
Once the skimming process is done, we need to redirect the water. Valves are turned to stop the water from going back to the protein skimmer and allow it to move to the next stage.
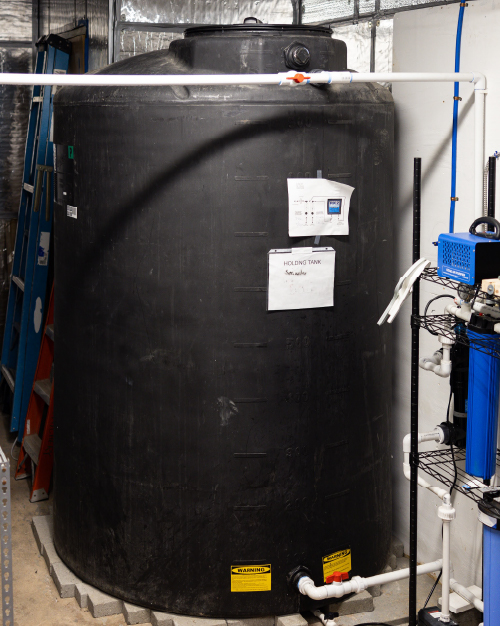
A pump with a flow rate of 910 gallons per hour and a 10-foot head is used to transfer water from the skimming tank to a larger 1,000-gallon holding tank. Along the way, the water passes through a UV filter and two mechanical filtration cartridges, one with a 1-micron filter and another with a 0.2-micron filter.
We keep an eye on the system using pressure gauges on each filter housing to know when it’s time to clean or replace the filters. Cleaning is done by flushing them with fresh water and then spraying them with ethanol, allowing it to evaporate.
Depending on your initial water quality you may need to adjust the micron size of the filtration media, or possibly add an additional filter housing to support additional filters.
The transfer process is carefully monitored by the operator. When the skimming tank is almost empty, we use valves to stop the flow from the skimming tank and open a valve at the bottom of the holding tank. This allows water to flow to the circulation pump, which is connected to both tanks through a T-shaped fitting.
At the top of the holding tank, there’s another T fitting. This splits the water flow. Some of it goes back into the holding tank for recirculation, while the rest flows into the nursery for further use.
Let’s go over what happens inside the grow room to make sure the water is just right. Click on the icons below to learn more.
Water should never stagnate anywhere in the system. Transfer legs and episodic pipes should have drain valving and active circuits need to be designed so water can constantly circulate.
Every part of the processing and storage system needs to be light-proof (except the protein skimmer!). Don’t assume dark tons or opaque appearing materials will not pass light. Our 500 and 1000 gallon tanks looked like they were light-proof–but a quick check with the LED light of a cell phone immediately showed otherwise. You can paint translucent surfaces with a high build primer then several coats of enamel paint until no light passes.
Mitigation mechanisms should be layered–for example we use inline UV sterilization units at three separate points in our system, and cartridge filtration at three other points. Mechanical filtration will work better (and be easier to operate!) if the filter sizes are layered, keeping the smallest filters from plugging with larger material and keeping the system flowing freely.
GreenWave Tip
Things are going to get wet from time to time. If you can locate your facility with floor drains you will be better off. Fiber reinforced panels can be used to watertight walls.