GreenWave Resource
Sorus Processing Protocol
Back to: Seeding
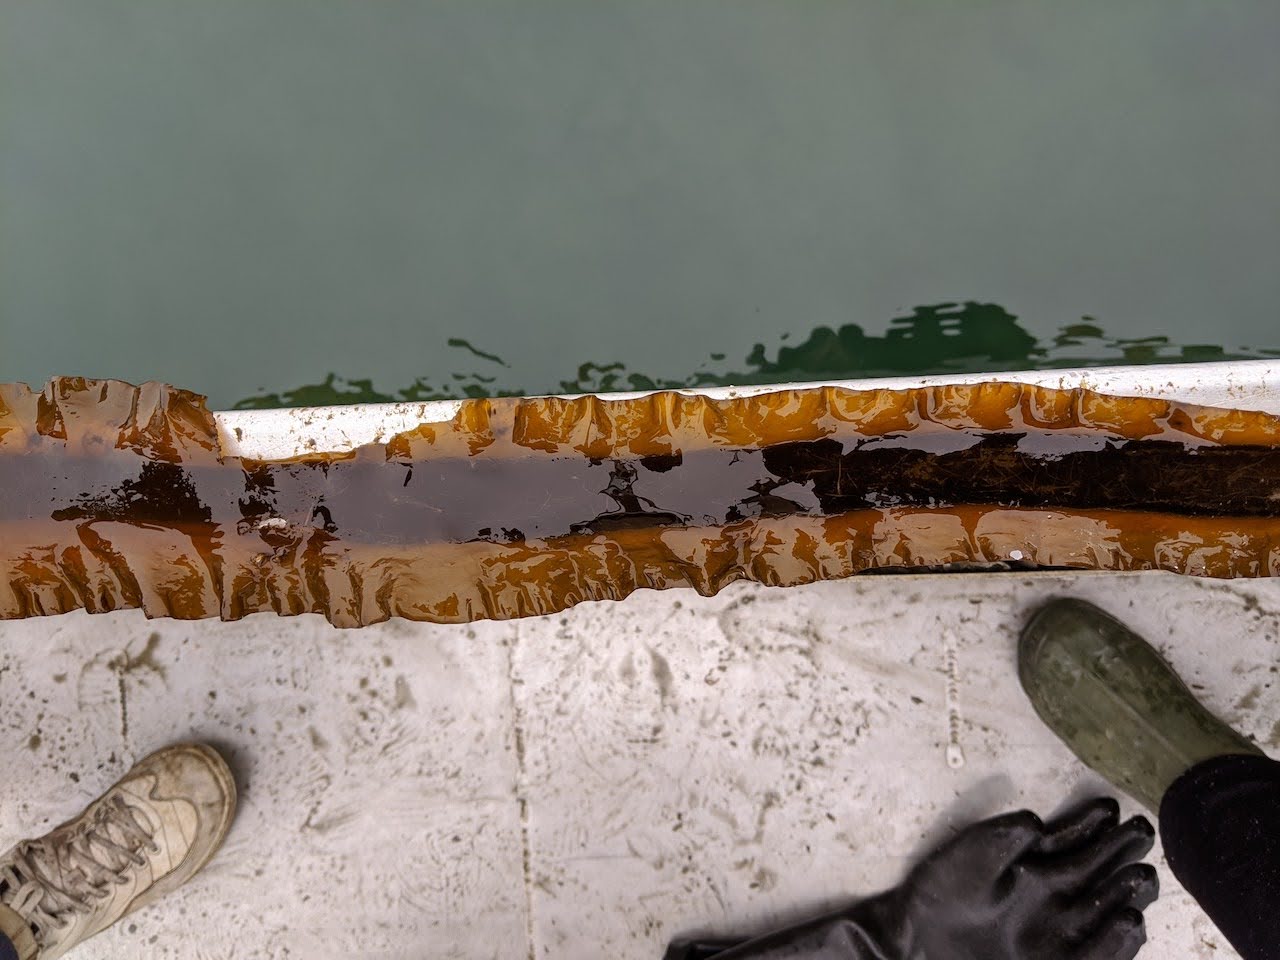
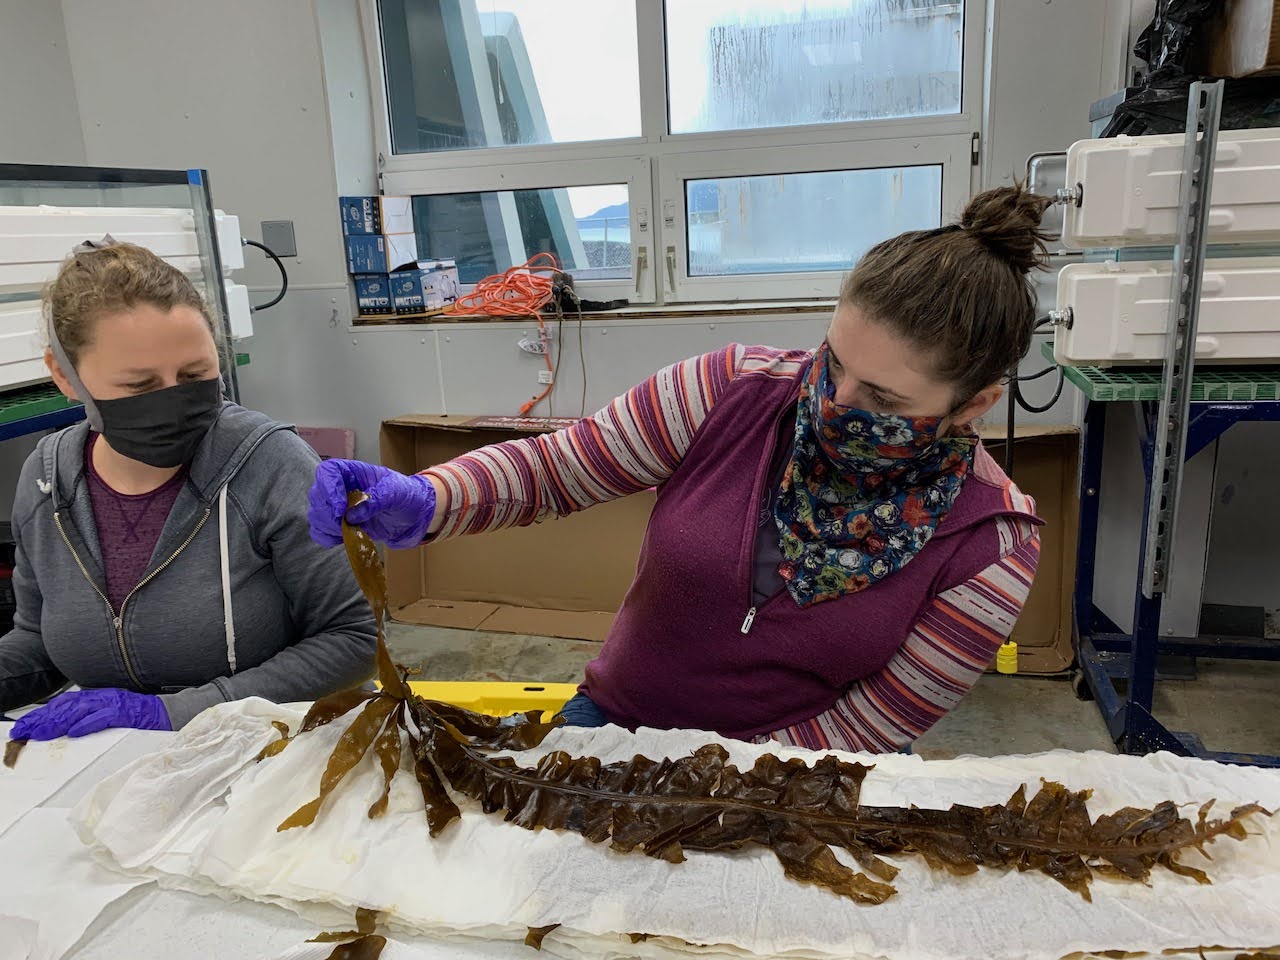
Now that you’ve collected (or received) your sorus tissue, it’s time for the main event! This is the stage in which you’ll coax millions of microscopic spores out of the reproductive tissue in the blades to create a spore solution. The intermediate step, which we’ll cover in detail here, is processing your sorus tissue. This consists of several cleaning stages and an overnight desiccation period. This procedure may feel tedious, but it is critical. Your culture tanks have the perfect light, nutrients, and temperature for marine organisms to thrive, so it is important to clean your tissue thoroughly, minimizing the chance that contamination enters the tanks and outcompetes your kelp seed.
Before the sorus tissue arrives at your facility, it’s good to have your space prepped and all equipment sterilized. All materials and surfaces that you will be using should be wiped clean with 70% ethanol. Throughout this entire process, you should wear nitrile gloves. If you have sorus tissue from more than one location, you must resterilize all tools and surfaces and change out your gloves when processing each new batch of sorus tissue to avoid cross-contamination.
It is best practice to process your sorus tissue in a room separate from the actual hatchery space. The blades that have been collected are coming straight from the field and are full of contaminants that you don’t want entering your clean and sterile hatchery space. As mentioned in the previous lesson, it is best to process your tissue the same day it was collected from the field; however if timing and logistics do not allow, the tissue can be held for up to three days if kept cool and slightly damp.
Review GreenWave’s Sorus Processing Protocol and gather your equipment before starting.